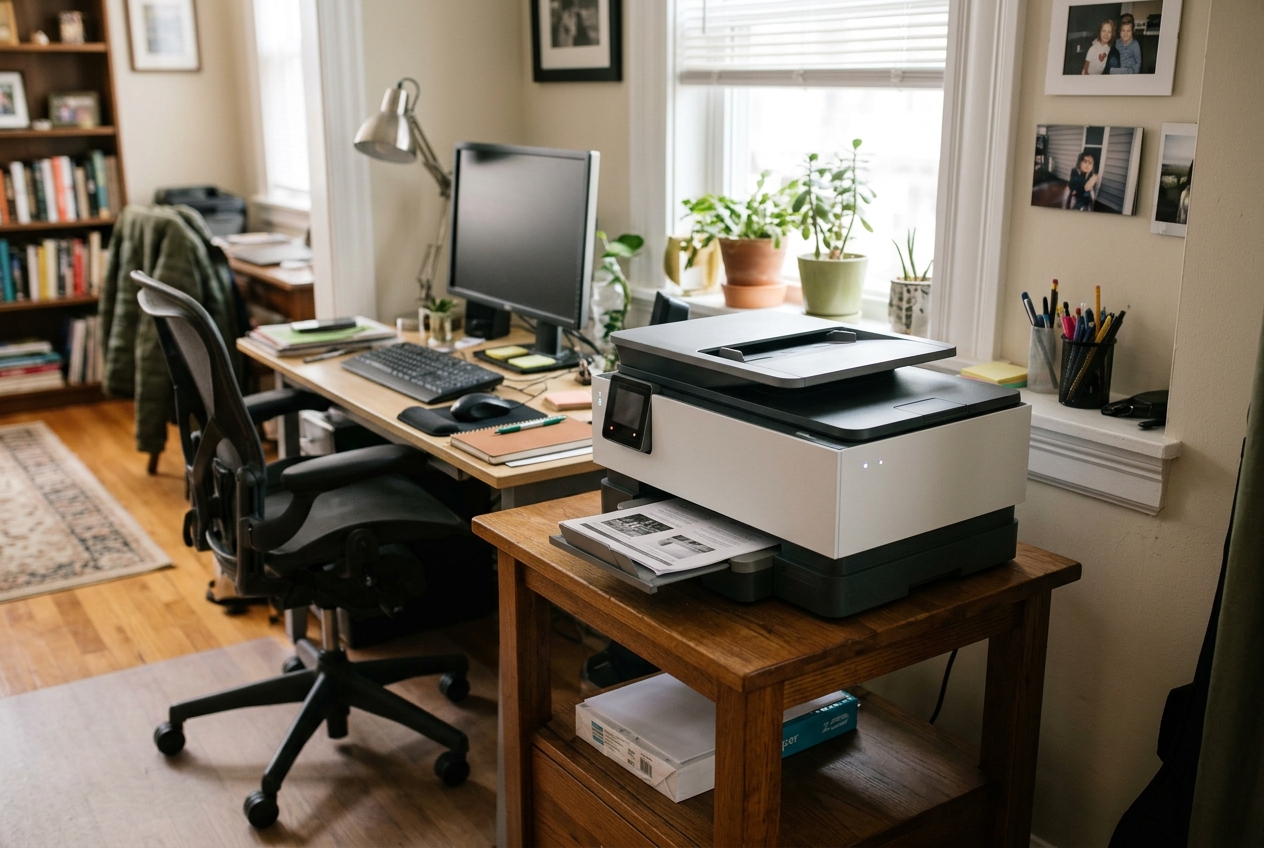
Understanding Home Office Printer Basics
A home office printer is a compact device for everyday tasks such as documents, forms, and occasional images. The main types are inkjet and laser models. Inkjet printers use liquid ink and suit mixed text and colour work, while laser printers use toner and often handle higher volumes of black-and-white pages. Multifunction models combine printing, scanning, and copying in one unit, which can save space. Important features include print speed, text sharpness, colour quality if you produce graphics, and support for common paper sizes. Connectivity options such as USB, Wi‑Fi, and sometimes Ethernet determine how easily the printer can be shared among computers and mobile devices, and basic security settings help limit unwanted access on a shared network.
Planning installation and maintenance helps the printer run reliably. Setup usually means placing the device on a stable, ventilated surface, connecting power, choosing either a cable or wireless network, and installing the correct drivers or apps on your devices. For wireless models, network strength and router settings can affect performance. Routine care focuses on keeping the printer clean, using suitable paper, and checking ink or toner levels so supplies are replaced before they are empty, which helps preserve print quality and protects internal parts. Updating firmware and drivers according to the manufacturer’s instructions can improve compatibility and fix known issues, supporting smoother use over time.
Setting Up a Home Office Printer
Choose a stable, ventilated surface near a power outlet and, for wired setups, within reach of your computer or router. Unpack the home office printer, remove protective materials, and check for the power cable, any USB or Ethernet cable, and starter ink or toner. Install the cartridges and load paper following the quick start guide, keeping paper guides snug without bending pages. Connect power, switch on the device, and complete any on-screen setup such as language, time, and printhead alignment so the printer is ready for software installation.
To install the printer on your computer, use either the manufacturer’s setup utility or your operating system’s printer tools. On many systems, connecting the printer via USB or to the same network allows the computer to detect it and download drivers automatically, which can take a few minutes and usually needs an internet connection. If automatic setup fails or you need specific features, get the latest driver and software from the manufacturer’s support site, then run the installer, choose the correct model, decide whether to share the device on the network, and print a test page to confirm output quality.
For wireless use, open the printer’s control panel and connect it to your Wi‑Fi by selecting the correct network name and entering the password carefully, paying attention to uppercase and lowercase letters. Once the printer joins the network, add it from your computer’s printer settings by searching for network or wireless devices and confirming the right printer name. After installation, check for firmware or driver updates from the manufacturer, and if you meet connection issues, verify both devices are on the same network, restart them, and if needed move the printer closer to the router to reduce interference.
| Connection Type | Key Setup Steps | Best Use Case | Limitations |
|---|---|---|---|
| USB | Plug into computer, run driver setup, print test page | Single desktop or nearby laptop | Limited mobility, cable clutter |
| Wireless Wi‑Fi | Join printer to Wi‑Fi, add network printer, update drivers | Flexible home office layout, multiple devices | Signal interference, password entry errors |
| Ethernet | Connect to router, use OS tools to add network printer | Stable shared printer in fixed location | Requires router access, extra cabling |
Wireless Printer Setup for Home Offices
To set up a wireless printer in a home office, place it where the Wi‑Fi signal is stable and away from thick walls or metal shelves. Use the printer’s control panel or setup app to connect it to your home network, selecting the correct network name and entering the password carefully. On your computer, open the system’s printer settings to add the device, then install the manufacturer’s driver and utilities so functions such as scanning and ink monitoring work correctly. For phones and tablets, install the official printing app and connect the device to the same Wi‑Fi network.
Wireless printing depends on network strength and can be slower than a wired USB connection for large or detailed documents. If the printer disappears from the network, restarting the router, checking that both devices use the same Wi‑Fi band, and updating drivers or firmware often helps. In busy households, other online activity can delay jobs, so moving the printer closer to the router or temporarily using a cable can improve reliability.
Common Printer Troubleshooting Steps
When a home office printer stops working, start with basic checks before changing software. Confirm the printer has power, is switched on, and shows no obvious error lights or messages. Make sure paper is correctly loaded, the guides fit the paper, and there are no jams. For USB or Ethernet connections, check that cables are firmly attached at both ends and try another port or cable if printing fails. On shared computers, verify the correct printer is set as default and that the print queue is not paused.
Connection issues are frequent with wireless printers. If a computer cannot find the device, confirm both are on the same network and that the Wi‑Fi signal is stable. Restarting the printer, router, and computer can clear temporary faults but does not fix wrong passwords or outdated network settings. In the system’s printer settings, check that the device is not set to offline, and remove and re‑add it if needed. When jobs stay stuck in the queue or show generic errors, clearing the queue and restarting the operating system’s print spooler or using built‑in troubleshooting tools can help.
Many print quality problems and software errors relate to the printer driver. If pages show missing lines, bad colours, or distorted text, run the printer’s cleaning or alignment routines and confirm ink or toner levels. If the printer stops working after a system update or shows it is unsupported, install a newer driver using the operating system’s update tools or the manufacturer’s official support site. For repeated error codes, unclear firmware prompts, or advanced settings, contact the manufacturer’s support service for detailed guidance.
When to Update or Reinstall Printer Drivers
Update the printer driver when a home office printer suddenly stops responding, prints garbled pages, shows repeated errors, or fails after an operating system upgrade. Refreshing the driver can restore communication between the computer and printer, improve compatibility, and solve some connection issues on current versions of Windows and macOS.
Use the system’s update tools or download the latest driver from the manufacturer, then run the installer and restart if asked. If trouble starts right after a change, remove the printer and add it again or roll back to an earlier driver. Software adjustments cannot repair failing hardware, worn mechanical parts, or faulty network devices, so ongoing problems may require further testing or professional service.
Ink Replacement and Routine Maintenance
Replacing ink or toner in a home office printer is usually simple when you follow the product manual. Use the display or software to confirm which cartridge is low, and power the device off if the instructions require it. Open the access panel carefully, avoid touching internal rollers or wires, and hold cartridges only by labeled plastic areas to limit leaks and smudges. Release the old cartridge, keep it upright, and install the new one immediately so the compartment stays clean. Check that each unit clicks into place and that colors match their slots. After closing the panel, run the printer’s alignment or calibration tools if needed so that text and images remain clear, keeping in mind that these tests consume some ink and paper.
Routine maintenance focuses on tasks the manufacturer describes as safe for users. Many home office printers include built in cleaning cycles that can reduce streaks, faded lines, or minor feed issues, but running them too often wastes supplies. Lightly dust exterior surfaces and paper trays with a dry, lint free cloth, and keep liquids away from openings and ports. Store paper in a dry area, print a short page periodically, and keep vents unobstructed to limit clogs and overheating. If jams, unusual noises, or error codes persist after basic cleaning, rely on official support information or a qualified technician instead of opening internal components that the guide does not list as user serviceable.
Q&A
-
How do I choose between an inkjet and a laser printer for home use?
Use inkjet if you often need color or photos and print in small batches. Choose laser if most pages are black and white, you print frequently, or want faster text output and lower cost per page. -
What are the basic steps to install a new home printer?
Set the printer on a stable surface, insert cartridges, load paper, and switch it on. Then run the setup wizard, connect by USB or Wi‑Fi, and install the official driver from the manufacturer or bundled software. -
How can I connect a wireless printer to Wi‑Fi?
Open the printer’s network menu or setup app, pick your Wi‑Fi name, and type the password. After it joins the network, add it in your computer’s printer settings and finish driver setup so features work correctly. -
What should I try first if my printer does not respond?
Confirm power, paper, and that no error lights or messages appear. Check cables or wireless connection, make sure the correct device is selected, and clear any stuck jobs in the print queue before reinstalling drivers. -
When should I replace ink and do maintenance?
Change ink or toner when software warns of low levels or pages look faded or streaked. Run built‑in cleaning tools occasionally, wipe dust from trays and vents, and follow the manual instead of opening internal parts.